Building the “Handi-Finder”!
A few months back I got a chance to head out on another fox hunt in the same public conservation land. Again, using the Yagi with 4Mhz offset attenuator, I was able to quickly locate the general area of each fox, but up close to such strong signals (5W Baofeng transmitters), I was again completely lost to narrow down where to search.
I tried the third harmonic trick that W1MJ had suggested on a previous hunt, but, for both the transmitters on this hunt, it was not obvious which direction to head. The third harmonic was coming through clear and strong in each of my narrowed areas and body shielding alone wasn’t enough to figure out a direction. In this hunt I think I was also fighting reflections. A few times I would get a strong signal in a completely new direction.
I, unfortunately, left unable to find either fox. My plans to return were derailed when the foxes had technical issues the next day that led to an early end to the hunt. Determined to be better prepared for the next hunt, I continued some internet searching for close-in direction finding. One of my searches led me to the Handi-Finder.
The Handi-Finder essentially alternates between two antennas and if the signal is received more quickly by one than the other a phase modulaton is created by the circuit, which results in an audible tone on the receiver. When both antennas are perpendicular to the source, there is no delay between antennas, and the tone is nulled, indicating the direction of the source. While the aparatus is sensitive to 180-degree null issues, multiple readings should make this method very easy to use to narrow down even a strong signal with no attenuation needed. This is a method known broadly as “time difference of arrival” (TDOA).
The Handi-Finder apparently was first featured in the May 1993 issue of QST in an article entitled, “Build the Handi-Finder” by K8DTS. That article is still available to ARRL members from this page (ARRL login required): https://www.arrl.org/direction-finding. In the years since, a website has been devoted to the design and a group continues to sell ‘experimenters’ kits based on the design.
While I like to support these types of kits to encourage development of these projects, this one seemed simple enough to duplicate on a prototype board and since the original article was geared towards do-it-yourselfers, I think I’m keeping in spirirt with the original designer’s ideals. The components are all very common and I had everything in my parts box except for the IC — a 4047 chip at the heart of the device and a small DPDT switch. The IC is still readily available though latest parts have gone through a number of revisions and is made by many suppliers.
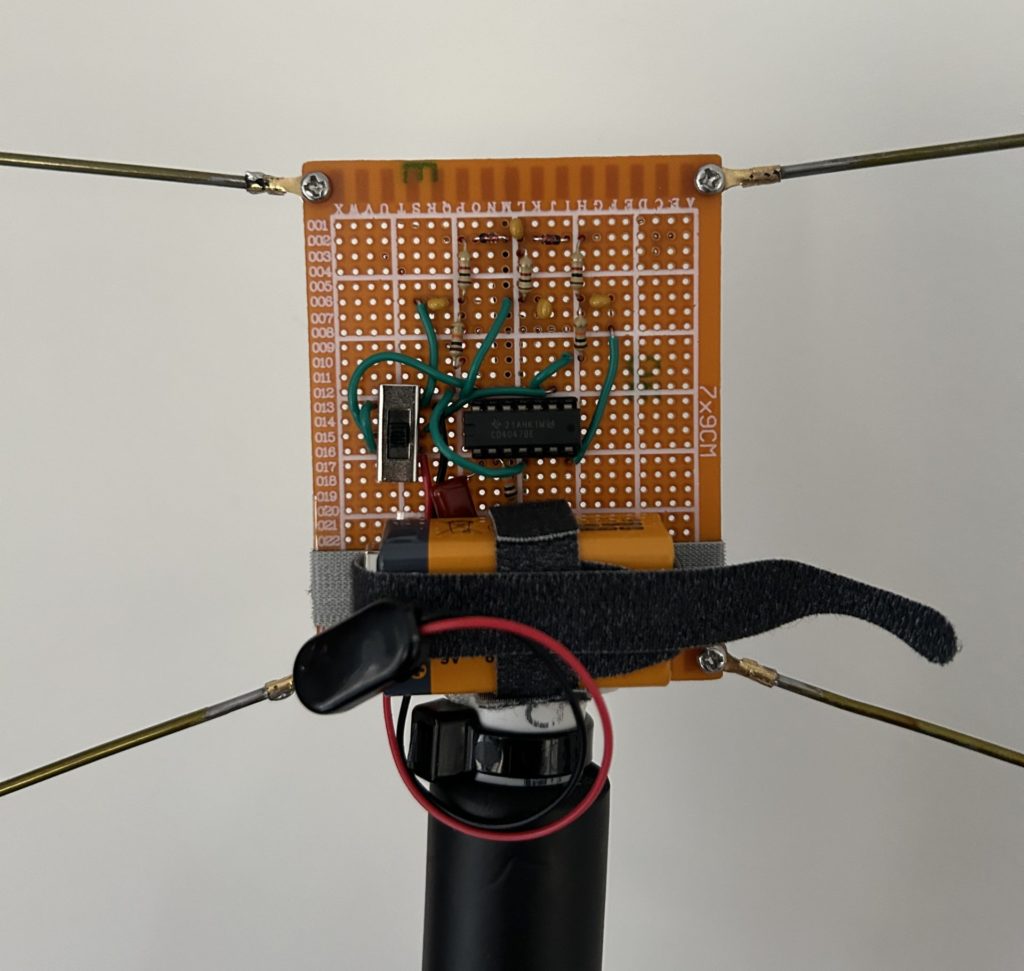
Initially, I rounded up components and added to a breadboard in a rough fashion. Then, I transferred to a protoboard, arranging as best I could to keep the design easy and minimize the jumpers and wires needed. Largely, I followed the layout used on the commercial board with a few changes. I then set about with the schematic to match up and follow all the connections I needed to make. In many cases I used the extra through-hole leads to make connections between components. In a few cases, where the wires might cross I added 24 AWG jumper wire.
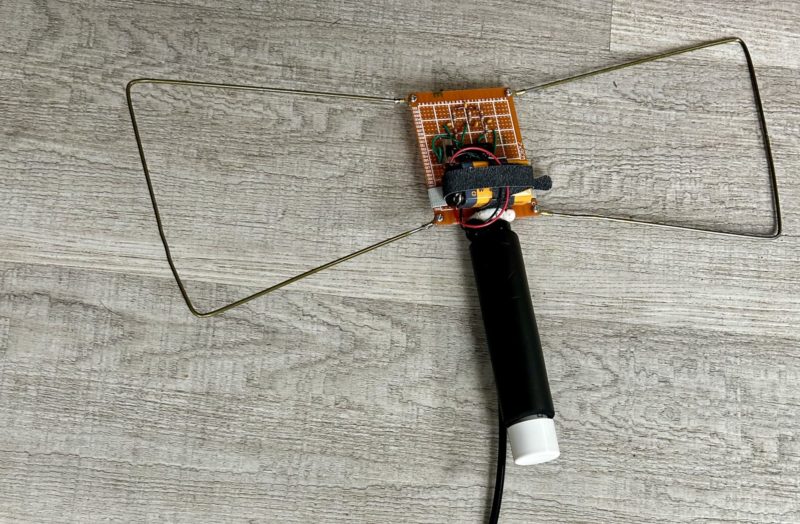
I followed instructions to make the bow tie antennas out of coat hanger wire. I didn’t have a fancy 9V battery holder, but I did have extra 9V connector and fashioned a holder out of a few velcro loops I had on hand. For a handle, I opted to use an extra chunk of 1/2in PVC pipe with a notch cut in the top for the circuit board and a foam handle added for comfort. I used Gorilla Glue to attach the board to the PVC.
The final step was to wire in a bit of coax and give it a test. I used a zip tie to hold the coax in place.
First testing showed it not working. No tone added. I traced the circuits and determined I had miswired a few spots due to flipping back and forth front and back on the board and inverted some pin connections. With those resolve, I tested again. Still nothing. I rebuilt entirely a second version; still not working. Frustrating.

A fellow ham I recently met suggested it might be due to poor quality components (I had used mostly parts from Amazon variety packs)… so I headed to Digikey and purchased a full set of the parts. Once they arrived I set about rebuilding for a third time — again the real difficulty here is routing the connections and making sure you don’t reverse anything when flipping the board front and back since it’s largely symetrical. Completed again and tuned up the local weather frequency. WORKED. Immediately and very easily. Cannot wait to try on my next hunt. And lesson learned trying to save a few bucks buying Amazon part assortments… too unreliable.
