Building the KC9ON 4 MHz Offset Attenuator
As a next step in my foxhunting setup, I was looking to build an attenuator. I had seen a few different plans and styles, but came across a great little kit from KC9ON for his v5 Attenuator and picked it up for about $15 shipped.
The kit comes with all the parts well labelled and separated which is helpful, especially for those of us who never quite rememeber their resistor color codes. PDF instructions provide step by step installation guidance, which largely follows across the board adding and trimming at each step. There are no complex components, no SMD or anything like that. The kit builds quite easily and I’m impresed with the overall way the instructions and component labels were included. I’m used to just getting a bag of loose parts and needing to sort through each to find what I need each step.
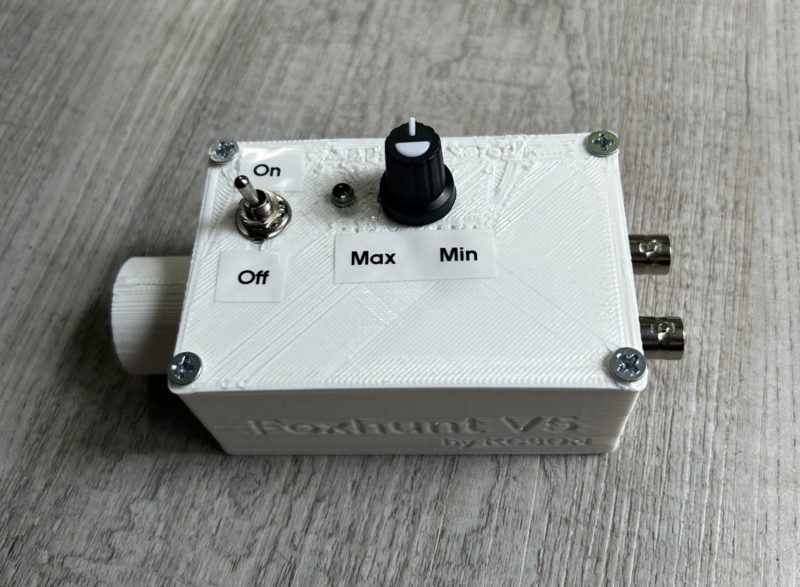
I opted to try a 3D printed case design (available on the KC9ON site) and my ancient printer took about 5 hours between cover and case. The cover printed with a few errors but functional, the base came out about expected. All in all, a solid design that fit the parts well and was easier than finding a suitable project box and drillin the wholes needed.
The hardest part of this build proved to be soldering on some BNC connectors for radio and antenna connections (the kit includes only screw terminals — you add whatever connectors you want). To add the BNC connectors, you have to solder the lug to the braid first, then add the nut and washer, then insert your connector through the case and solder the center pin, then tighten down the nut… I used a RG-58 coax and it was very stiff to try to flex into the right position to solder the center pin. And when closing up the case itself, there was very little room to fold the wire in and I felt that I was likely to pull off one of my soldered wires while trying to fit it. But it all worked with a little careful pressure!
Can’t wait to try this out on an upcoming foxhunt!
One comment
Comments are closed.